Posted in Exploring, Fashion, Photography, Second Life

Velocipedestrienne

Apricot Paws at The Engine Room

Recently I bought a lovely vintage cycling outfit called “Velocipedestrienne” by Apricot Paws at The Engine Room event.

(Edit: Tipped off by my friend CC, who is demanding credit. LOL)

Initially I bought the white blouse for L$124 (fatpack was L$414), and the bloomers in burgundy also for L$124, and I also picked up the blouse in wine as a free gift at their mainstore.

However, afterwards I realised that I liked several colours of the bloomers, and contacted Zii Minotaur (the owner of Apricot Paws) and they were more than happy for me to buy the bloomers fatpack at L$414 and to refund me the L$124 that I had spent on the single pack, which was absolutely wonderful of them.

I also wanted some boots to go with the outfit, and I already owned Solvej by Ingenue in Noir, Oxblood, and Walnut, which had cost L$295 each, and I had written myself a notecard at the time saying that I had decided to buy single colours because the fatpack was L$1,500 (a breakeven of 5.02) and that the only other colour I could see myself wanting was Saddle. The Walnut looked too dark (although perhaps might have sufficed) and I thought that I did indeed need the Saddle so bought that.

I also wanted some hair to go with the outfit and, as luck would have it, the ideal hair was right there at The Engine Room

F191 by KMH

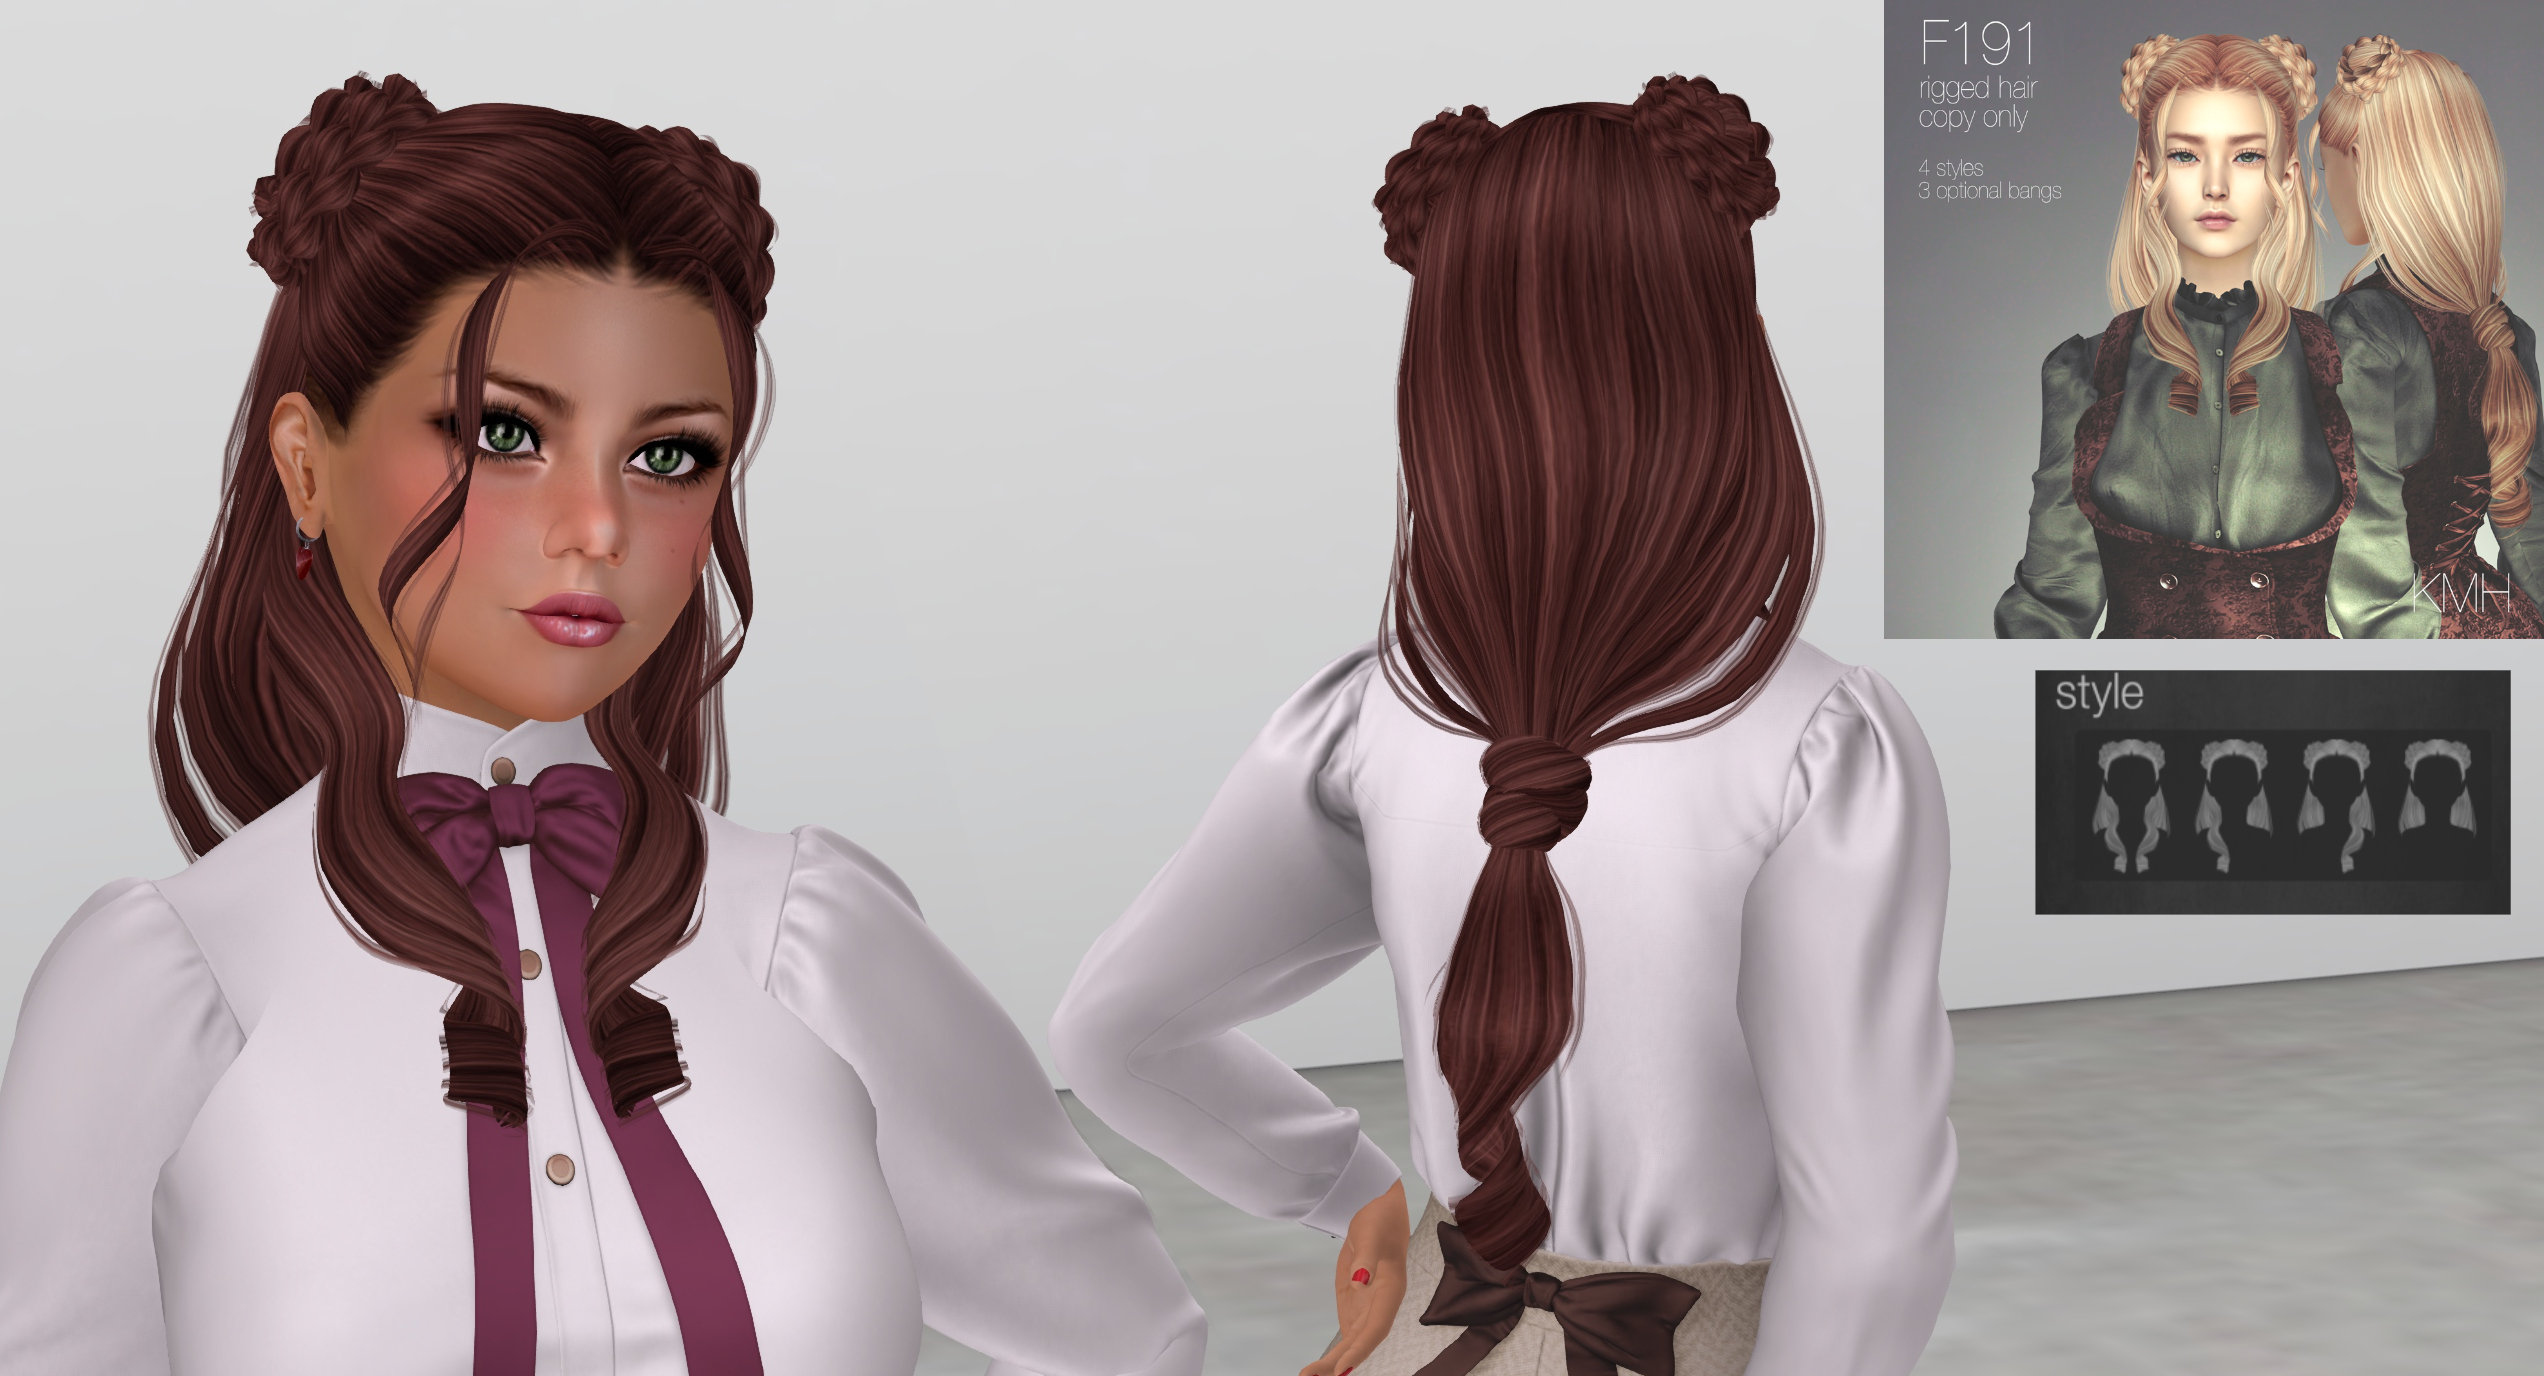
The hair was L$325 for the Natural pack. It is Rigged in two sizes, and also comes with three separate Unrigged bangs, and also the HUD allows 4 different style variants. I’m wearing Bangs2 in the pic, and Bangs3 is a wider version, whilst Bangs1 is a straight fringe.

So, with the outfit all done, it was time to look for location and a bicycle.

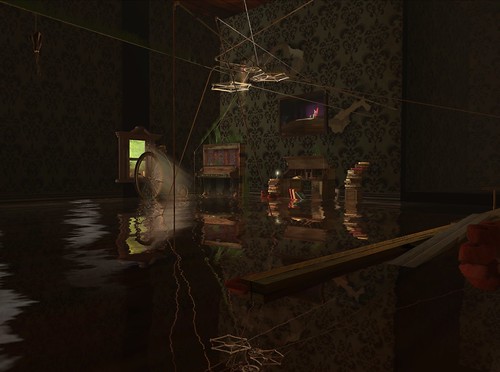
My first idea was to find a nice sim which had free bicycle rezzers, and the first place I found was Calas Galadhon Park. Whilst it is a lovely sim I wasn’t happy with the sizing of the bicycle (it came in fixed sizes, and I was between sizes) nor was I happy how totally uncontrollable the vehicle-based bicycle was, with it being way too oversensitive.

Taken at Calas Galadhon Park

The picture was fair, and frankly I could have left it there, but I went looking further.

The next place I found was a delightful bicycle-themed cafe called Java Sprockets which has a vendor board giving free “Java Cruiser” ladies bikes.

Java Sprockets

For a freebie, this was actually pretty nice. You rezz it, and then it automatically attaches to you. It rides fairly well, but has fairly poor anims. It has a script which allows you to recolour with a choice of “Cherry Red”, “Lemon Yellow”, “New SL Blue”, “Coffee”, and “Old SL Green”. It also allows for resizing.

With hindsight, a few mins with AnyPose would have come up with a half-decent pose (this is what I managed in 30 secs).

Java Cruiser

Finally I bought the Sonoma bicycle by {what next}, which actually turns out to be who makes the rezzer that I found at Cala Galadhon, only this version you wear as an attachment and it acts like an AO, meaning you can ride it anywhere. It sells for L$249 for a single colour, but I noticed that it is copy-mod so I bought it in Cream and then retextured it to a lovely Bugatti Blue and also made the flowers in the basket transparent because I felt it suited the type of picture I wanted to take rather better.

Where to go for a backdrop? My first thought was the Paris 1900 sim, even though the bicycle is more of a 1950’s style, although I would say the outfit is much earlier. I chose the famous Moulin Rouge as the backdrop.

Taken at Paris 1900

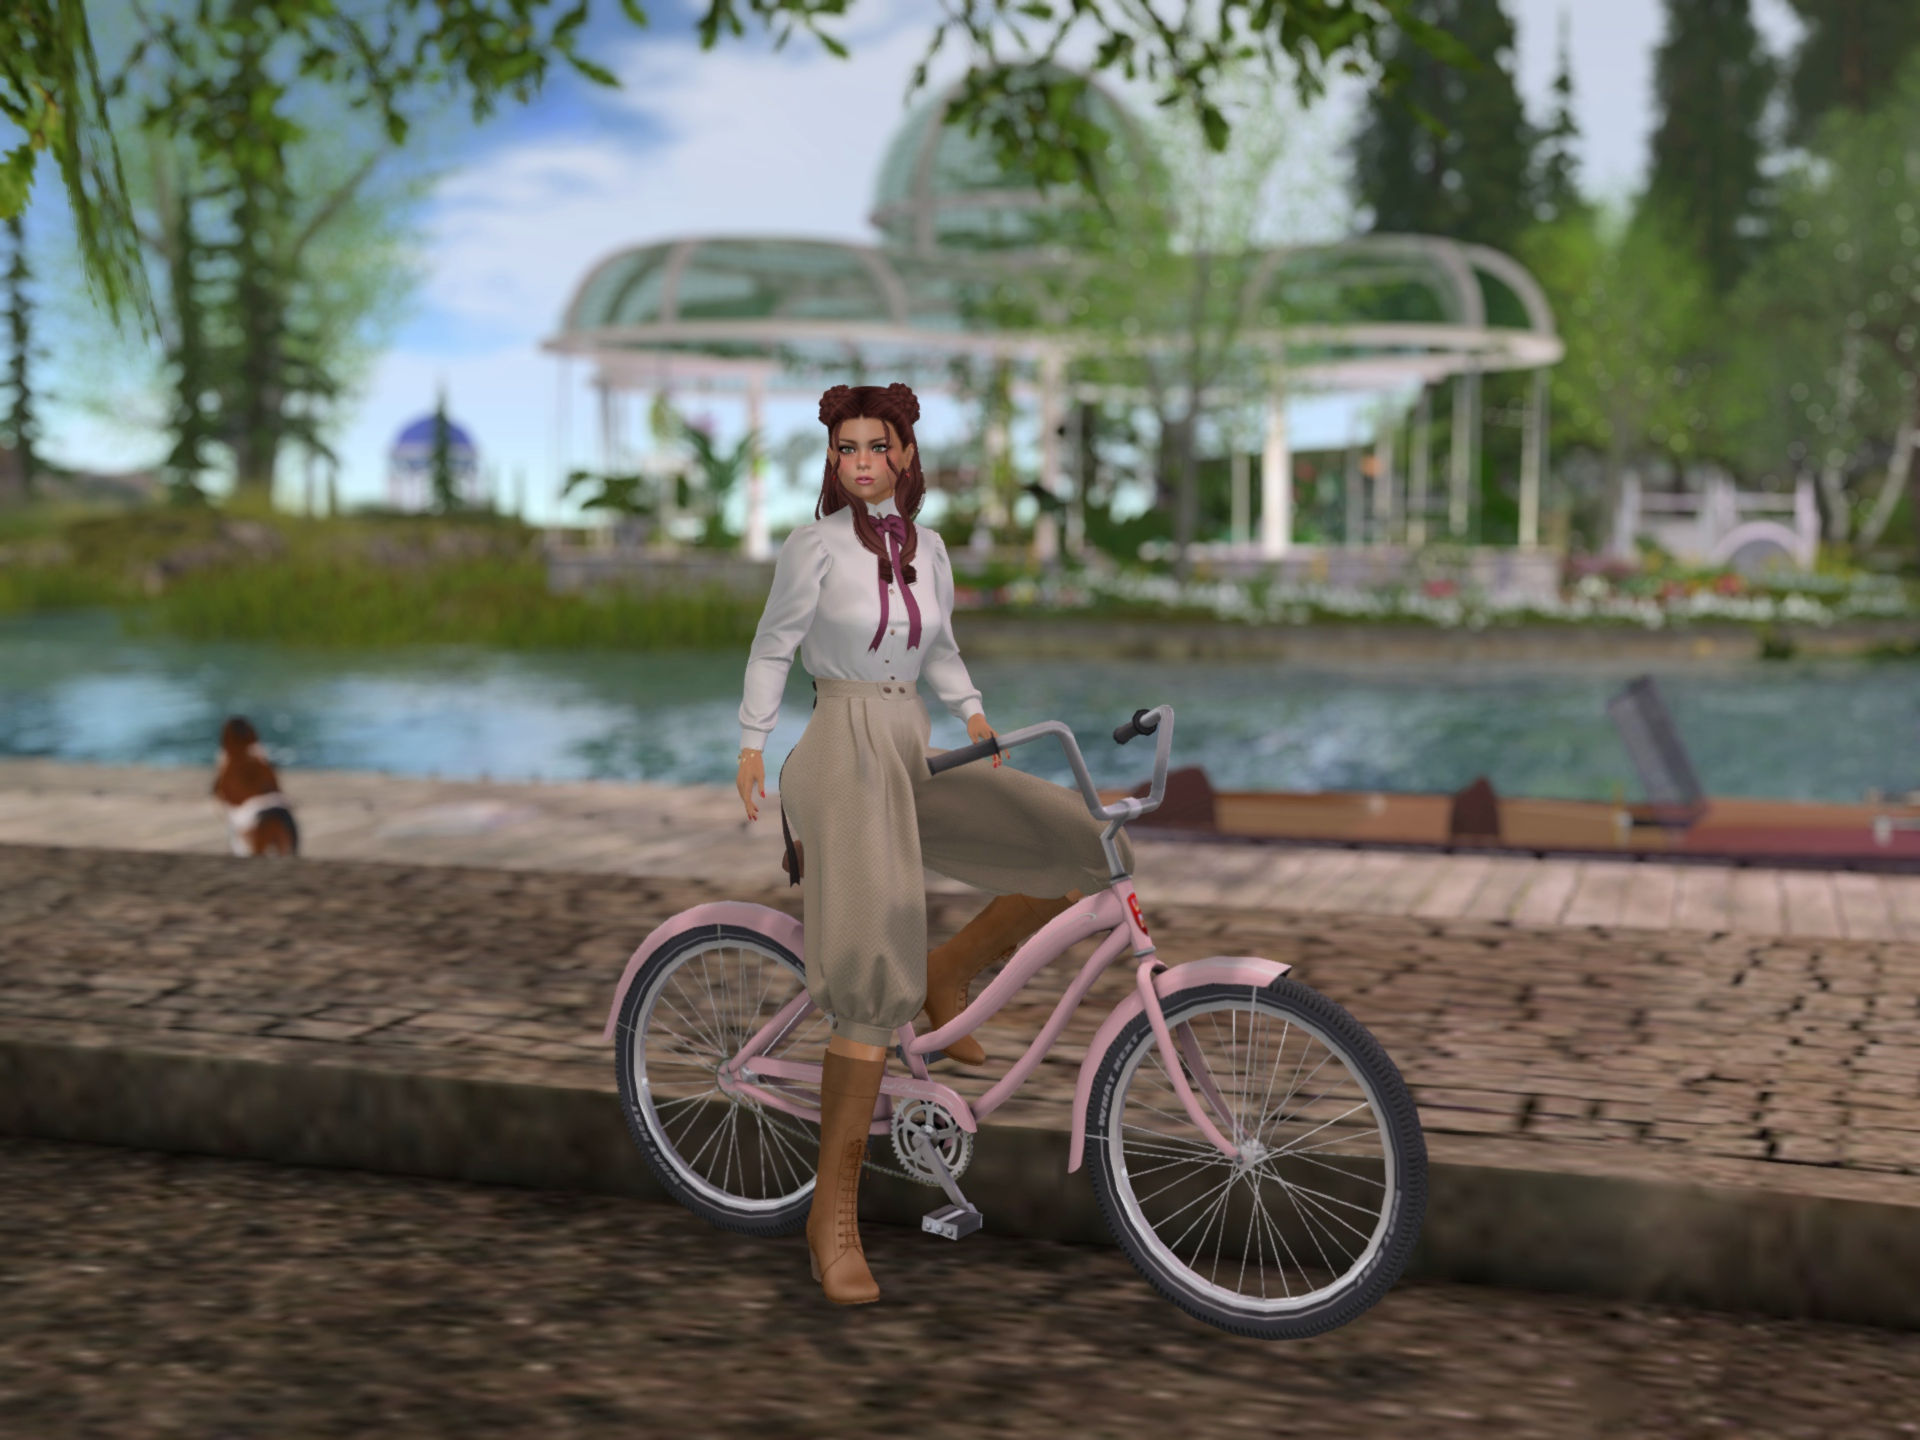
I sent the pic to my sis, Karen, who I know loves that sim, and she suggested that I might like to try Soul2Soul River, which is a gorgeous quintessentially English village, and it was a good suggestion.


Final picture, as published to Flickr

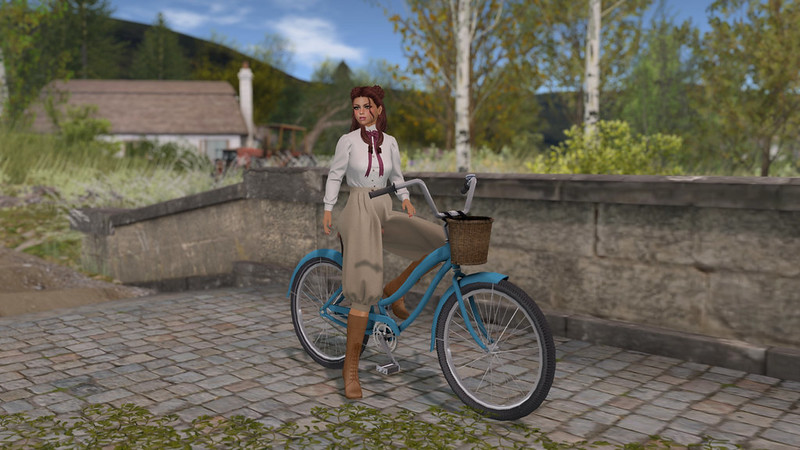
This is the picture I finally settled on because I had to stop somewhere.


Summary:

Outfit: Velocipedestrienne by Apricot Paws (at The Engine Room event)
Boots: Solvej by Ingenue
Hair: F191 by KMH (at The Engine Room event)
Bicycle: Sonoma bicycle by {what next}

Posted in Exploring, Second Life

The Path

If you haven’t already visited this amazing Installation Art project then you’re really missing something.

It’s a collaborative project at the new Linden Endowment for the Arts sims, curated by Bryn Oh and developed along the lines of the Surrealists’ Exquisite Corpse

The participating artists are:
1 – Bryn Oh
2 – Colin Fizgig
3 – Marcus Inkpen
4 – Douglas Story and Desdemona Enfield
5 – Maya Paris
6 – claudia222 Jewell
7 – Scottius Polke
8 – Rose Borchovski

Visit it at slurl.com/secondlife/LEA2/179/186/23

See also
brynoh.blogspot.com/2011/10/path-opens-today-friday-octob…
primperfectblog.wordpress.com/2011/10/14/neo-surrealism-t…

Posted in Exploring, General, Second Life

Lest we forget

Lest we forget
Lest we forget

My friend Rorrim Wrigglesworth has built this wonderful Garden of Remembrance, which includes The Cenotaph.

Please do visit it to pay your respects. It is located at RoBeck land in Second Life (click here for SURL)

The Two Minute Silence is at 11:00am 11th Nov 2011 (UK time, which is 3am SLT/PST) and Remembrance Day will be on Sunday 13th Nov this year.

www.britishlegion.org.uk/remembrance/the-nation-remembers/remembrance-sunday
www.bbc.co.uk/news/11734920
en.wikipedia.org/wiki/Remembrance_Day

They shall grow not old, as we that are left grow old:
Age shall not weary them, nor the years condemn.
At the going down of the sun and in the morning,
We will remember them.

Update: I was at the Garden of Remembrance for the Two Minute Silence, and was very moved that there were 11 other people there at the appointed time (11am UK time).
We were all silent and then just after 11.02am somebody said something appropriate. I added the quote in italics above and someone immediately echoed “We will remember them” (which is the correct and traditional response).
A few more very appropriate things were also said.

It doesn’t sound much, but it was very moving and very special. Possibly the most special thing I have experienced in my 4 years on Second Life.

Posted in Fashion, Flickr, Photography, Second Life

Mixing it up

I love my digital art, and sometimes I like to mix things up a bit. The foreground is from Second Life, of course, but the background was taken in Crysis: Warhead.

I spent ages on this pic, what with fitting the hair to the beret, finding the pose, doing the snapshots in both SL and Crysis, and then all the post-processing (not least correcting SL’s various clipping issues) . I’m quite pleased with the result.

For reference, the various parts of the outfit are:

  • Skin: Tess by Laqroki
  • Eyes: Laqroki
  • Hair: Hunter by Magika (customised by me)
  • Beret: British Para beret by SA Quartermaster
  • Top: Jungle Camo Tank Top by Reasonable Desires
  • Trousers: Woodland Camo Pants by Breach
  • Boots: 9″ Combat by Adi Cat Designs
  • Hand gun: Heckler & Koch USP by Breach
  • Rifle: part of the background
  • Background: Crysis Warhead

Dog Tags are from the SL Library

Posted in Photography, Second Life, tips

Second Life Photography tips

Update: Although this is an old article, it is still relevant in 2022!

As many of you know, I’m a keen Second Life amateur photographer with loads of pics on my Flickr photostream and even more on my self-hosted gallery.

Along the way I have picked up a few useful techniques which I will share with you here.

First things first, if you haven’t read SL Wiki guide to high quality photography then you should have a read. Specifically on turning on the High Resolution Snapshots option and also Quiet Snapshots to Disk (which disables that annoying “click-whirr” sound effect that lets everyone know you have taken a pic)

As mentioned in the guide, whilst you can use the Camera Controls window (View -> Camera Controls) to control the camera, it’s very clumsy and imprecise. It is far better to use the mouse camera controls, as follows:

  • Alt and clicking something focuses it to the centre of the screen.
  • Alt and dragging the mouse zooms the camera.
  • Alt+Ctrl and dragging orbits the camera.
  • Alt+Ctrl+Shift and dragging pans the camera.

That may sound a little complex, but when you get used to it then it is amazingly intuitive and fast. It’s so natural to me now that I don’t even think of it when I use it.

Now, on to my tips.

Shoot from the hip

The first thing I use a lot, and I mean a LOT, is a technique that lets you shoot first and aim afterwards. As a Street Photographer who is always looking to capture that split-second ‘sneak attack’ moment this is really essential.

Take a snapshot using the Snapshot button on the bottom menu bar (on a 1.x Viewer) or use the keyboard shortcut Ctrl+Shift+S (under Windows). This brings up the Snapshot Preview window.
For my technique to work you must have the “Freeze frame (fullscreen preview)” checkbox ticked. And you should NOT have the “Auto-refresh” checkbox ticked.

So, with those checkboxes set up that way, take a snapshot and note that everything seems to be frozen in time. Now, move the camera around using the mouse controls I mentioned earlier… Yay! We have ‘Bullet Time’ from The Matrix!
Use the camera controls to reposition the camera angle so that everything is just how you want it and then click the “Refresh Snapshot” button. You can then save as normal.

Under some circumstances when taking snapshots of people, SL can glitch up and the person can move but all their attachments (including their hair) can stay still and it ruins the snapshot, but it happens rarely enough that this technique is still very useful.

The Dolly Zoom

If you know anything about film, you’ll be wondering what the Dolly Zoom (a.k.a. the “Hitchcock zoom”, “Vertigo effect”, “Jaws shot”, “zoom in / dolly out“, etc.) has to do with stills photography, but bear with me.

If you zoom right in on something in Second Life you’ll notice that everything gets a bit distorted and perspective is altered.
Now, not many people know that there are additional zoom controls accessed with the keyboard shortcuts Ctrl+0 (to zoom in) and Ctrl+8 to zoom out. Ctrl+9 resets it to normal.

One or two presses of Ctrl+0 will correct the distortion.

But there is more! And this is where the Dolly Zoom effect comes in. If you get a bit more extreme and press Ctrl+0 a few more times and then pull back with the Camera Controls (Alt+mouse as previously mentioned) then you get the characteristic foreshortening effect. This can give you some really interesting effects.

Don’t forget that when you are done to use Ctrl-9 to reset to normal.

Posted in General, Imprudence, Phoenix / Firestorm, Photography, Second Life, tips, Viewer 2.x, Viewers

Profile pics and profile Picks (a tutorial)

A lot of people who have made their own picture for their Profile find that it appears squashed or stretched. There is a very good reason for this and it is fairly straightforward to work around. The aim of this post is to try to explain how.

Before I go any further though, do bear in mind that this whole tutorial is all to do with 1.x Series Viewers (ie. official Viewer up to 1.23.5 and most Third Party Viewers such as Imprudence, Phoenix, Emergence, and the like) since Linden Lab in their infinite (lack of) wisdom changed it for Viewer 2.

The key thing to remember with textures (which is the name Linden Lab uses to refer to anything that looks like a picture, which includes snapshots) is that they are always square or else rectangles made up of squares. And those squares are always powers of 2. So a texture can be 256×256 pixels, 512×512, 1024×1024, 512×1024, 512×256, etc. – you get the idea. The maximum size allowed in any one direction (in Second Life) is 1024.
If a picture does not fit into one of these combinations then it is stretched or squashed accordingly, and this is where the deformation comes from.

You would think that you should be able to just take a snapshot in-world and use it, however this is not the case because the Profile picture, and the picture used in the Picks section of your profile, have specific aspect ratios which are clearly defined by Linden Lab [link]. For your Profile pic this aspect is 4:3, and for a Profile Pick this is 16:9 (for 1.x Viewers. For 2.x Viewers LL changed it to 1:1 and 8:5/5:3 respectively. Don’t even get me started on why the Picks have two aspect ratios in the 2.x Viewer).
If you’re unsure what I mean by “aspect ratio” then please refer to [this link].
Unless you can somehow capture your in-world snapshot at something close to the correct ratio, then it’s not going to look right.
(I should note at this point that the RL pic in your profile has a 1:1 ratio, which since it is square is so trivially easy to do that I won’t mention it further)

So, how do you get it right? Well, provided you are happy to do a little bit of simple post-production then it is quite easy.
In order to do it you’ll need a photo editing application such as Photoshop, GIMP, Paint.net or even an online service like Picnik. All except Photoshop are free so don’t be worried if you don’t have one of them. I’ll leave it to you to choose what to use. I use GIMP myself, because it is almost as powerful as Photoshop but is free and Photoshop is very expensive. However, if you are a beginner then paint.net is a lot easier and more intuitive.

First you’ll need to take your snapshot in Second Life. Take a snapshot, but instead of saving it in-world, save it to your hard drive.
In v1.x viewers then this can easily be done with the Snapshot dialog, assessed with the “snapshot” button on the bottom toolbar (or the Ctrl-Alt-S keyboard shortcut if you’re using Windows). There is a radio button under ‘Snapshot destination’ at the top of the dialog, one option of which is “Save to your hard drive”.
You can also use “Snapshot to Disk” from the File menu.
Save the snapshot to somewhere that you can find it again shortly.

If you already have a snapshot in-world which you want to use then it is possible to save it locally and use it. Provided it has full permissions, you can open it and then choose “File -> Save Texture As” from the top menu (which is slightly counter-intuitive as you might reasonably expect it to be a menu on the window of the snapshot itself)

Now fire up your photo editing software and open the picture you just saved (regardless of which of the above two methods you used to create it).
Select the crop tool and fix the aspect ratio. In GIMP this is a checkbox on the crop tool and an edit box to specify the ratio. Your mileage my vary.
For a Profile pic you’ll want 4:3 and for a Pick you’ll want 16:9.
Don’t worry at this point what the final image size is because we will be resizing it.

Crop the picture to the correct ratio. It’s up to you how you want this to look, and it depends on your picture, but do remember that when someone looks at your profile the picture can look quite small. So, for your main profile pic at least, I find it is best to close crop and get your face quite dominant in the picture since your Profile picture is meant to be about you. However it’s entirely your call, of course.

Now, this is the important bit; the trick that this whole entry is about is coming up. You want to resize the picture so that it looks squashed, so that when SL uses it and stretches it, it regains its correct Aspect Ratio. Sneaky, huh?
You can do this in one step, but I like to do it in two steps as it makes more sense to me.
Resize your picture, preserving the aspect ratio. You’ll want to set the height of the picture to be either 512 or 1024 and let your software work out the width.
You’ll notice that the picture still looks right. Which is what we want.
Now the sneaky part – size the picture again but this time turn off keeping the correct aspect ratio. In GIMP this is a little icon of a chain between the height and width. Now set the width to be the same as the height. Do not change the height.
Your picture will now look squashed. Don’t worry, this is fine!
Save your picture – I’d recommend to a different filename.

Now, we need to get the picture back into SL as a texture.

Fire up your SL Viewer and, when ready, upload your edited picture (it’s under the File menu). It will cost you L$10 to do this. It’ll probably end up in the Textures folder of your Inventory.

Finally, edit your profile and drag the texture (ie. your uploaded picture) onto the appropriate picture box of the profile. Or, alternatively, double-click on the picture box and browse for it.

Hopefully your picture will look correct again – it will have been stretched out to the correct aspect ratio again. If it has not you’ve probably used the wrong ratio for the wrong box. Remember, for your main picture it should be 4:3 and for a Pick it should be 16:9
Also, bear in mind that it will only look right on 1.x Viewers since Viewer 2 uses different ratios.

That’s it! I hope that this was useful to you.

Posted in Flickr, Photography, Second Life, tips

Second Life Photography

[Originally posted 19-Mar-2010 here]

Photography is one of the many things I enjoy in SL. At the time of writing I have over 660 pictures on my Flickr account

Torley Linden has a great wiki page on various tips and tricks here:
wiki.secondlife.com/wiki/Snapshot_Help

One trick I use a lot is to take a snapshot using the dialog and then use the mouse-based camera controls to get the angle just right and then refresh it again. There’s a simple tutorial on it here. If you’re into SL photography then it’s a great technique to master.

Something that has annoyed me for ages is the foot shadow. I’m forever trying to correct it in post-production because the invisiprims on a lot of my boots cause the shadow to come out wrong. This problem will start to go away with the new alpha masking for feet in Viewer 2.0 but it will still be around for a while. So imagine my delight (and annoyance that I only just found this out) when I discovered you can turn off the foot shadow!
It’s Advanced menu > Rendering > Features > Foot Shadows
D’oh!

For my next set of photos I’m planning on making use of the depth and object matte capture modes and introducing depth of field in post production. Should be a new challenge for me and I’m really looking forward to it. Watch this space!

Continue reading “Second Life Photography”